
How to Beat the Sledge Queen in Decaying Winter
Optional Castle boss and raider leader—lure her away from snipers, master shellshots and parries, and unlock Evacuation Protocols rewards.
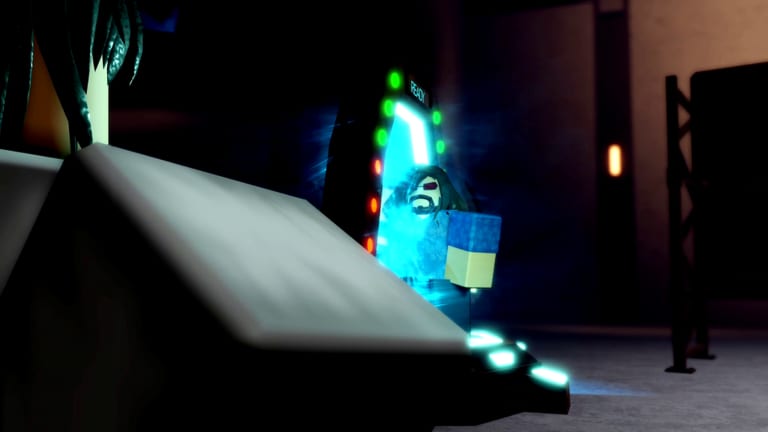
The Sledge Queen is Decaying Winter’s optional Castle boss and the leader of the raider faction holding the high-value Castle POI on EDEN-227. She is a high-skill optional encounter—not mandatory for standard ten-night evacuation, but required for the Evacuation Protocols veteran ending added in Last Strandeds. Killing her floods your squad with massive scrap, ammo, and rations, and replaces Castle raiders with regular scavengers for the remainder of the run. This guide covers lure tactics, shellshot patterns, parry windows, loadout choices, and how the fight feeds into Evacuation Guide.
Why fight the Sledge Queen
Beyond Evacuation keycard access in her basement cultist hole, the Sledge Queen payout accelerates mid-run gearing faster than routine day loot. Teams planning Evacuation should schedule the kill on a prepared day with storm padding, full med shares, and aux charges from Auxiliary Equipment.
Even squads skipping Evacuation sometimes kill her for economy spikes—just understand the skill check and opportunity cost versus safer POIs from Enemies and Map.
Why you must not fight at Castle
Castle is a raider base with snipers, tight angles, and reinforcements that punish static melee. Community wipes cluster inside the courtyard because players treat the Sledge Queen like a night hold boss. She is not—lure her away from Castle to open ground or a pre-scouted lane where Backline has sightlines and Frontline can parry without catching sniper fire.
Assign one player to clear or suppress sniper nests before the lure if your squad has the ammo. Otherwise, pull the queen far enough that Castle defenders lose overlap aggro. Ping with Z so Backline tracks the path.
Lure setup and Hologram Emitter
Lure tactics are the fight. Damage her once inside Castle, then kite along a route your squad prepared—med crates placed, choke identified, storm timer checked. A Hologram Emitter auxiliary distracts raider trash while the queen follows, buying time to reposition. Read charge rules and reset timing on Auxiliary Equipment; do not burn the hologram on scavs earlier that day if Evacuation prep depends on this kill.
Support players (Sovereign, Hivemind) should deploy summons on the approach path, not between Backline and the boss, or you block shots and friendly fire morale tensions.
Shellshot patterns: short and long
The Sledge Queen’s shellshots define the duel. She fires short-range bursts when you hug melee and long-range shell volleys when you create distance. Pattern recognition matters more than DPS padding:
- Short shellshots — punish face-tanking. Block or parry on rhythm; shove (Q) creates space but wastes counter windows compared to R parry when skilled.
- Long shellshots — punish greedy chase. Disengage behind cover, re-enter during reload or recovery animations.
Study weapon-specific parry guidance on Combat before your first attempt. Arbiter and Zealot players convert parries into burst; Artillerist players delete weak phases while Frontline trades shell attention.
Melee tempo: disengage and re-enter
The Sledge Queen closes fast in melee after ranged phases. Frontline must disengage deliberately—not panic sprint into storm or Castle fire lines—and re-enter when shell cooldowns open. Two sloppy re-entries wipe morale for the whole squad; see Morale Guide for stack penalties on teammate deaths.
Call med states early. Lazarus heals during shell phases, not after a one-shot melee combo deletes your anchor.
Parry skill is critical
Community consensus ranks the Sledge Queen among the fights where parry skill is critical. Shove spam fails when shellshot cadence accelerates. Practice on lesser raiders during nights four through six, then commit to queen attempts only when your Frontline hits consistent parry chains.
If parry timing is not there yet, postpone the kill—wasting a run’s med stock on a failed Castle day hurts more than delaying Evacuation one cycle.
Loadout and weapon notes
Bring stable primaries with ammo depth from Weapons Guide—not experimental day loot you cannot resupply. Backline should run armor-piercing options if patch notes buff raider plating on Trello.
Auxiliary priorities:
- Hologram Emitter — lure support.
- Medical kits — Frontline sustain through shell chains.
- Explosives — optional burst during supervised weak windows; do not blow up Frontline in tight lanes.
Post-kill map changes
After the Sledge Queen dies, Castle raiders despawn into regular scavengers for the rest of the run. Surface routes simplify, making keycard retrieval and Mountain bridge prep for Evacuation safer. Immediately update your squad’s day route plan—what was a no-go POI becomes farmable with caution.
Evacuation steps continue in Evacuation Guide with basement cultists and Agency Facility access.
Holdout crossover
Holdout mode recurs Raider boss waves featuring leadership units like the Sledge Queen on infinite cycles. Mechanics learned in this guide transfer directly—lure discipline and parry tempo matter even more when resources never reset. Read Holdout Guide for helipad context.
Squad checklist before pull
- Storm timer padded; no lethal weather mid-fight.
- Med and ammo shares complete—see Tips and Tricks.
- Sniper angles identified or avoided via lure path.
- Hologram Emitter charged.
- Caller assigned for shell phase countouts.
- Evacuation-intent squads briefed on basement follow-up.
Where to go next
| Goal | Page |
|---|---|
| Full Evacuation route | Evacuation |
| Aux gear details | Auxiliary Equipment |
| Gun economy | Weapons |
| Parry and melee binds | Combat |
| Map context | Enemies and Map |
| General habits | Tips and Tricks |
The Sledge Queen is Decaying Winter’s skill gate at Castle—respect the lure, respect the shell rhythm, and the run opens into Evacuation rewards worth the rehearsal.
Frequently Asked Questions
Quick answers to the most common Decaying Winter questions.
Is the Sledge Queen required for a normal evacuation?
No for standard ten-night evacuation. Yes if you want Evacuation Protocols—the veteran alternate ending that starts with her kill and basement keycard.
Why should I lure the Sledge Queen away from Castle?
Castle has snipers and raider density that wipe squads fighting inside the base. Open lanes let Backline shoot and Frontline parry without crossfire.
What loot does the Sledge Queen drop?
Massive scrap, ammo, and rations compared to normal day routes. She also replaces Castle raiders with regular scavengers for the rest of the run.
Which auxiliary helps most for the Sledge Queen?
Hologram Emitter distracts trash during the lure. Med kits and disciplined explosives support the main duel—see Auxiliary Equipment for details.
How important is parrying against the Sledge Queen?
Critical. Shellshot phases punish shove spam; consistent R parry timing from Combat practice converts into survival and counter burst.